 Lynden
 Siding Installation in Acme: What Local Homes Are Up Against
Homes in and around Acme face a specific combination of weather that most siding products, and more than a few installation crews, aren't built to handle well over the long term. Whatcom County sits in a marine climate zone where damp, salt-tinged air moves inland for much of the year, rain arrives sideways as often as it falls straight down, and moss has enough months of shade and moisture to take hold on any surface that stays wet longer than it should. None of that is unusual for western Washington. What it means for siding is that the margin for installation error is smaller here than it is in a drier climate, because every gap, missed flashing detail, or wrong fastener becomes an entry point for moisture that has months, not weeks, to do damage before a dry spell shows up to help things out.
Siding installation done right in this area isn't about picking a tougher-looking product and hoping it holds up. It's about a wall assembly that manages water on purpose — one that sheds driving rain, keeps salt-laden moisture from sitting against fasteners and trim, and doesn't give moss and mildew a foothold at the seams and laps where most siding failures actually start. That's the standard we hold every installation to on Acme-area homes, and it's worth understanding what that standard actually looks like before you sign a contract with anyone.
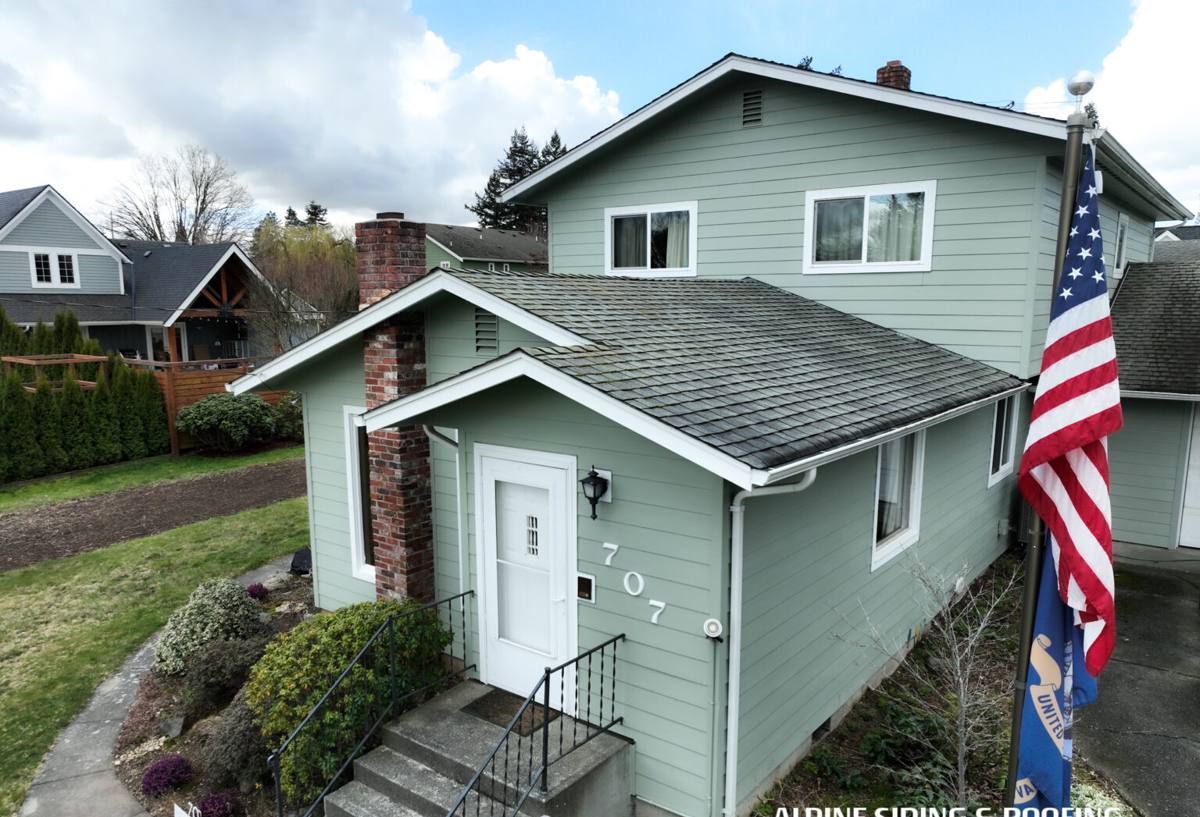
What "Correct" Siding Installation Actually Involves
A lot of siding jobs look fine for the first year or two regardless of how they were installed. The difference between a correct install and a shortcut one usually shows up three to eight years later, once water has had time to work its way into the places it shouldn't be. The details that matter most in a climate like this one:
- A continuous, properly lapped water-resistive barrier (WRB) behind the siding — not just felt paper stapled up quickly, but a barrier that's lapped shingle-style so water runs down and out, never into a seam.
- Flashing at every penetration — window and door heads, deck ledgers, hose bibs, vents, and any place trim meets the wall. Caulk is not a substitute for flashing; it's a backup, not a first line of defense.
- A drainage gap behind the siding (a rainscreen or furring strip), which lets any moisture that does get past the outer layer drain and dry instead of sitting against the sheathing.
- Correct ground clearance — siding kept a minimum distance above grade, decks, and roof lines so splashback and standing moisture don't wick into the bottom edge.
- Fastening to the manufacturer's schedule — the right fastener type, length, and spacing for the specific product and exposure, not "close enough."
- Caulking only where the manufacturer specifies it — over-caulking seams that are supposed to allow drainage traps water behind the siding instead of letting it out.
Every one of those details is invisible once the job is finished and the trim is painted. That's exactly why they're the details that separate a siding job that looks good at handoff from one that still looks good in year ten.
Why We Install Only James Hardie Fiber Cement
We don't install vinyl, LP SmartSide, primed wood, or cedar, and that's a deliberate standard, not a limitation of what we're capable of doing. James Hardie fiber cement is non-combustible, holds a factory-applied ColorPlus finish that doesn't rely on field paint to hold up against driving rain and marine humidity, and is engineered in climate-specific product lines. For Pacific Northwest exposure, that means Hardie's HZ5 line, built for regions with regular moisture cycling rather than hard freeze-thaw extremes. Fiber cement doesn't swell, delaminate, or feed moss the way wood-based products can when they stay damp for extended stretches, and it carries a strong transferable warranty backed by a manufacturer that engineers specifically for climates like this one. We'd rather install one product correctly, to spec, every time, than offer a menu of options we know perform less consistently in this weather.
Our Installation Process
The order of operations matters as much as the materials. Skipping steps or doing them out of sequence is where most siding failures actually originate, long before anyone notices a problem on the surface.
- Assessment. We walk the home, check the condition of the existing siding and any visible signs of trapped moisture, and look at how the house is exposed to prevailing wind and rain on its particular lot.
- Tear-off and inspection. Old siding comes off and the sheathing underneath gets inspected for rot, soft spots, or prior water damage before anything new goes up. This step catches problems that no amount of good new siding can fix if it's installed over them.
- Repair. Any compromised sheathing or framing is repaired or replaced. This is the step that gets skipped on corner-cutting jobs, and it's the one that causes the most expensive callbacks later.
- Water-resistive barrier and flashing. A continuous WRB goes on, lapped correctly, with flashing installed at every window, door, penetration, and transition.
- Rainscreen installation. Furring strips create the drainage gap that lets the wall assembly dry instead of holding moisture against the sheathing.
- Siding installation. Hardie panels or lap siding go up to the manufacturer's fastening schedule, with clearances maintained at grade, decks, and rooflines.
- Trim, corners, and caulking. Trim is fitted and caulked only at the joints Hardie specifies, preserving the drainage paths built into the system.
- Final walk-through and cleanup. We inspect the completed install against spec and clear the site.
Siding Problems We See on Older Homes in This Area
Whatcom County has a lot of housing stock old enough that its original siding was never designed for the drainage details described above, and the wear pattern is fairly consistent from house to house:
- Moss and algae buildup on north- and shade-facing walls that stay damp longer between dry spells.
- Rot at the bottom courses of siding where clearance above grade or decking was never adequate.
- Caulked-over joints that were meant to drain, now trapping moisture behind the siding instead of releasing it.
- Corroded or failing fasteners, particularly on homes closer to open exposure where salt-influenced air accelerates metal fatigue.
- Warped, cupped, or delaminating wood-based siding panels that absorbed moisture faster than they could dry.
None of these are unusual findings — they're the predictable result of a wet climate meeting an installation or product that wasn't built with drainage as the first priority.
Cost Factors for Siding Installation
Every home is different, so we don't quote off a flat rate, but the factors that actually move the number are consistent. Understanding them ahead of time makes for a more useful estimate conversation.
| Factor | Why It Matters | Effect on the Job |
|---|---|---|
| Home size and number of stories | More surface area and taller walls change both material and labor time | Larger, taller homes take more crew-days and often require additional access equipment |
| Removal of existing siding | Tear-off, hauling, and disposal add labor before installation even starts | Re-siding over existing material (when structurally sound) can lower cost; full tear-off usually can't be skipped on rot-prone homes |
| Sheathing and framing condition | Hidden rot found during tear-off has to be repaired before new siding goes on | Can add cost that's impossible to quote precisely until the old siding is off |
| Trim and architectural detail | Dormers, multiple roof lines, and decorative trim all add cutting and flashing work | More complex exteriors take longer and use more trim material |
| Site access | Tight lots, fencing, or difficult staging areas slow crew movement | Limited access can extend the timeline modestly |
| Color and finish selection | ColorPlus factory finishes come in a defined palette; custom field-painting is a separate cost | Factory finish is typically the more cost-effective and durable choice |
Why a Crew That Already Works This Area Matters
Siding installation isn't a generic checklist you can run the same way in every county. A crew that regularly works Acme and the surrounding Lynden area already understands how local lot orientation, tree cover, and prevailing weather patterns affect where a given home takes the worst of the wind-driven rain, which matters when deciding where extra flashing attention or drainage detailing is worth the added time. That familiarity also extends to the practical side of the job: knowing what Whatcom County and City of Lynden permitting requires, scheduling around the wettest stretches of the year so tear-off and dry-in happen efficiently, and recognizing the construction patterns common to the area's older homes before the crew even opens up the walls. A contractor who installs here regularly isn't guessing at any of that — it's the difference between a crew learning your house's quirks on your dime and one that's already seen the pattern before.
Maintaining Your Siding After Installation
Correctly installed fiber cement siding is low-maintenance, not no-maintenance. A little attention keeps it performing the way it's designed to for decades:
- Rinse siding annually with a garden hose to clear salt residue, pollen, and general grime before it builds up.
- Inspect caulk joints at trim and penetrations every year or two, and have any cracked or separated caulk replaced promptly.
- Clear moss, leaves, and debris from the base of the wall and out of any ground-level gaps so moisture doesn't sit against the bottom edge.
- Keep shrubs and landscaping trimmed back from the siding to maintain airflow and reduce shaded, damp conditions that favor moss.
- Check gutters and downspouts regularly — overflowing gutters are one of the most common causes of localized siding damage, regardless of the siding product.
- Watch for any soft spots, discoloration, or bubbling, which can indicate moisture getting behind the siding and are easier to address early than after they spread.
If you're weighing a siding project for a home in or near Acme, we're happy to take a look and talk through what your specific house needs — no pressure, no obligation. Use the form below to request a free estimate.