 Lynden
 Siding Built for Custer's Coastal Exposure
Custer sits close enough to Puget Sound and the Strait of Georgia that salt-laden air is a real factor in how exterior materials age here, not just an abstract coastal concern. Add Whatcom County's long wet season, near-constant humidity for months at a stretch, and driving rain that comes in sideways off the water during winter storms, and you have a climate that is genuinely hard on siding. Homes in and around Custer also deal with a long moss and algae season — anything shaded by trees or facing north stays damp far longer than it would in a drier inland climate, and that moisture sits against the wall surface for weeks at a time.
Siding installed in Custer has to do three things well: shed water fast, resist the surface growth that comes from prolonged dampness, and hold up to salt exposure without the finish chalking, fading, or breaking down early. That's a different set of demands than siding installed on the dry side of the Cascades, and it's why the material and the installation details both matter more here than they would in a milder, drier location.
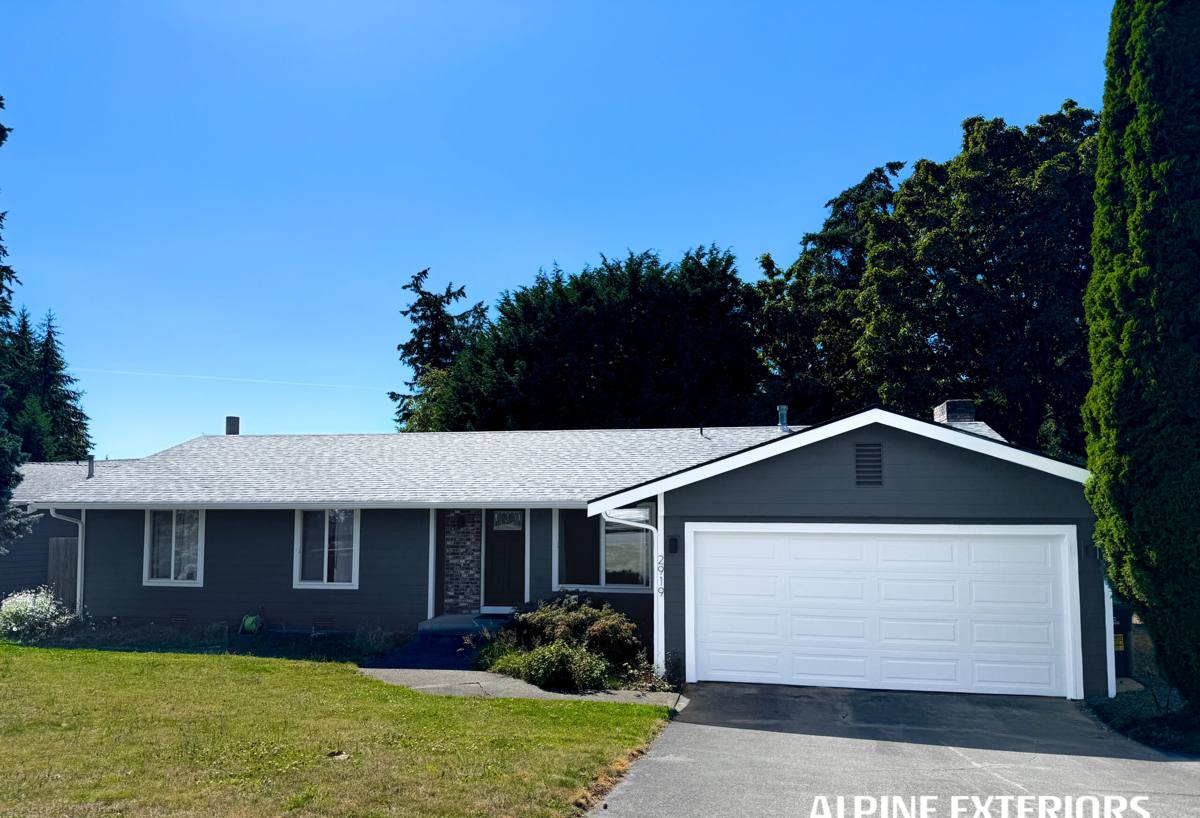
Why We Only Install James Hardie in This Climate
We install James Hardie fiber cement siding exclusively — we don't offer vinyl, LP SmartSide, cedar, primed spruce, or other fiber cement brands like Cemplank or Allura. That's not a marketing position, it's a decision based on what actually holds up in Whatcom County's coastal microclimates, Custer included.
Fiber cement doesn't rot, warp, or provide the organic material that mold and algae feed on the way wood-based products can. It doesn't soften or deform in sustained moisture the way engineered wood products can if a seam or cut edge gets wet and stays wet. And unlike vinyl, it won't become brittle and crack in a hard freeze or warp from heat — though Custer's bigger issue is moisture, not temperature swings. James Hardie's ColorPlus factory finish is baked on and warranted separately from the panel itself, which matters in a salt-air environment where field-applied paint tends to break down faster on more porous or less stable substrates.
We're upfront that Hardie costs more upfront than vinyl and is a more particular product to install correctly than some alternatives. We think that trade-off is worth it for a house that's going to face decades of Custer's weather with minimal maintenance.
What a Correct Installation Involves
Most siding failures we get called out to inspect trace back to installation mistakes, not the product itself. In a high-moisture coastal area like Custer, the margin for error is smaller than it is in a drier climate, because any gap in the water management system stays wet longer and does more damage before it's noticed.
Water management comes first
Before a single piece of siding goes up, the wall needs a correctly lapped weather-resistive barrier, properly integrated flashing at every window, door, and penetration, and a drainage plane that lets any water that gets behind the siding find its way back out. James Hardie's install specs call for a rainscreen or minimum clearance gap in many applications specifically because trapped moisture behind the panel is what causes long-term problems — that gap matters even more in a place where the siding face itself is wet for days at a stretch.
Fastening and clearances
Hardie panels need to be fastened per the manufacturer's schedule — correct nail or screw type, correct spacing, and blind- or face-nailed per the product line's requirements. Ground clearance, roof-line clearance, and deck/patio clearance all need to meet Hardie's minimums, because splashback and standing water at the base of a wall are one of the most common causes of early siding failure we see in wet coastal towns.
Joints and caulking
Butt joints, corners, and trim intersections are where water intrusion usually starts if they're done wrong. We follow Hardie's specified joint treatment (whether that's a flashed joint, an H-mold, or a properly backed and caulked joint) rather than relying on caulk alone to do the job long-term — caulk is a maintenance item, not a substitute for correct flashing.
Pre-Installation Checklist We Run on Every Custer Job
- Inspect sheathing for existing rot or moisture damage before covering it
- Confirm weather-resistive barrier is continuous and correctly lapped
- Verify flashing at every window, door, and penetration
- Set proper drainage gap per Hardie's specification for the substrate
- Check and correct ground, roof, and deck clearances
- Confirm fastener type and spacing match the Hardie install manual for the product line used
- Plan joint and corner treatment before the first panel goes up, not as an afterthought
Dealing with Moss and Algae on North- and Tree-Shaded Walls
Custer has plenty of tree cover and plenty of homes with a north- or west-facing wall that simply doesn't dry out for long stretches of the year. On wood siding or lower-grade fiber cement, that kind of prolonged dampness is exactly what feeds surface moss and algae growth, and it also accelerates paint and finish breakdown. James Hardie's factory ColorPlus finish is more resistant to that kind of surface growth than field-applied paint on porous substrates, and because the color is baked into a finish system with its own warranty, a homeowner isn't relying on a single paint job to hold up through years of damp shade.
That said, no siding is immune to moss and algae if a wall never gets sun or airflow. Good design — keeping vegetation trimmed back from the wall, maintaining gutters so runoff isn't sheeting down the siding face, and making sure the drainage gap behind the panel is actually doing its job — matters as much as the material choice on the shadiest sides of a Custer home.
Salt Air and Finish Longevity
Homes closer to the water deal with airborne salt settling on every exterior surface, which is corrosive to unprotected metal fasteners and trim, and abrasive to finishes over time. We spec corrosion-resistant fasteners and trim components on coastal-proximity jobs like Custer, and we lean on Hardie's factory-applied finish rather than site-applied paint precisely because a factory finish holds its color and integrity longer under salt exposure than most field-applied coatings.
It's also why we don't recommend vinyl in this specific setting — vinyl can look chalky and faded well before its expected lifespan is up when exposed to consistent salt air and UV, and it isn't repainted the way fiber cement can be if a homeowner wants to refresh the look decades down the road.
James Hardie Product Lines for Custer Conditions
| Product | Best Use on a Custer Home | Why It Fits |
|---|---|---|
| HardiePlank lap siding | Primary wall cladding, most homes | Standard workhorse siding, wide color range in ColorPlus, proven install spec for wet climates |
| HardiePanel vertical siding | Accent walls, gables, modern facades | Clean lines, pairs well with board-and-batten detailing |
| HardieTrim boards | Corners, window/door trim, fascia | Matches panel finish system, resists the moisture exposure trim takes at joints and edges |
| HardieSoffit panels | Eaves and overhangs | Vented or non-vented options help manage moisture at the roofline, a common trouble spot in heavy-rain areas |
Which combination makes sense depends on the home's design and current condition — we'll walk through the options during an on-site look rather than guessing from a general list.
Full Replacement vs. Repair or Partial Re-Siding
Not every siding call in Custer ends in a full tear-off. If the underlying sheathing is sound and only one elevation — usually the north or west wall — is showing damage, moss buildup, or finish failure, a partial re-side can make sense. But if we find sheathing damage, we'll tell you before starting rather than covering it up, because siding over a wet or rotten substrate just hides a bigger problem and shortens the life of the new siding on top of it.
Full replacement is usually the right call when the existing siding is an older wood or engineered wood product that's already showing widespread moisture damage, when the weather-resistive barrier and flashing details are outdated or missing, or when a homeowner wants to correct clearance and drainage issues that were never addressed in the original install.
Cost Factors for a Custer Siding Project
| Factor | Why It Affects Cost |
|---|---|
| Home size and wall complexity | More corners, gables, and dormers mean more cutting, trim, and labor time |
| Condition of existing sheathing | Rot repair or sheathing replacement adds cost but is essential if damage is found |
| Full tear-off vs. partial re-side | Partial jobs cost less but only make sense when the rest of the home's siding is sound |
| Product line and profile | Lap width, panel style, and trim detailing all affect material and labor cost |
| Access and site conditions | Tree cover, tight lot lines, or multi-story sections can add labor time |
We give real numbers after seeing the specific home — broad online estimates rarely account for what's actually happening behind the existing siding.
Why Hire a Crew That Already Works This Area
A crew that regularly works Whatcom County's coastal-proximity towns already knows what to look for when they pull the first panel off a Custer home — where moisture tends to hide, which details commonly get skipped by lower-bid installers, and how the local climate should shape decisions like drainage gap and fastener choice. That familiarity shows up in fewer surprises mid-project and a finished install that's actually built for the weather it's going to face, not a generic install pulled straight from a manual written for a drier region.
If you're weighing a siding project in Custer, we're glad to come take a look, tell you honestly what we find, and put together a straightforward estimate — no pressure, no upsell script, just what the house actually needs. Use the form below to request a free estimate.