 Lynden
 Building Near the Border? Your Windows Need to Handle Two Climates' Worth of Weather
Abbotsford sits close enough to the water and far enough into the Fraser Valley that new construction here takes a beating from a mix of conditions most window installers never think about together: salt-laden air pushing in off the Strait, long stretches of driving rain that comes in sideways more often than straight down, and a moss season that can stretch from October into May. If you're framing a new home or addition near the border, the windows you choose and how they're installed matter more than most builders let on. We're a Lynden-based crew that works this exact corridor — Whatcom County on one side of the line, the Abbotsford area on the other — and we've built our new-construction window process around what actually survives out here, not just what looks good on install day.
New-construction window work is fundamentally different from a retrofit or a replacement job. You're not working around an existing rough opening or trying to seal against old trim — you're setting the window into a fresh frame, integrating it with the house wrap and flashing system before siding ever goes on, and getting the water management right the first time because nobody's going to see it again once the walls are closed up. Get it wrong here and the problem doesn't show up for two or three years, usually as a stain on drywall or a soft spot in the sill that nobody can explain.
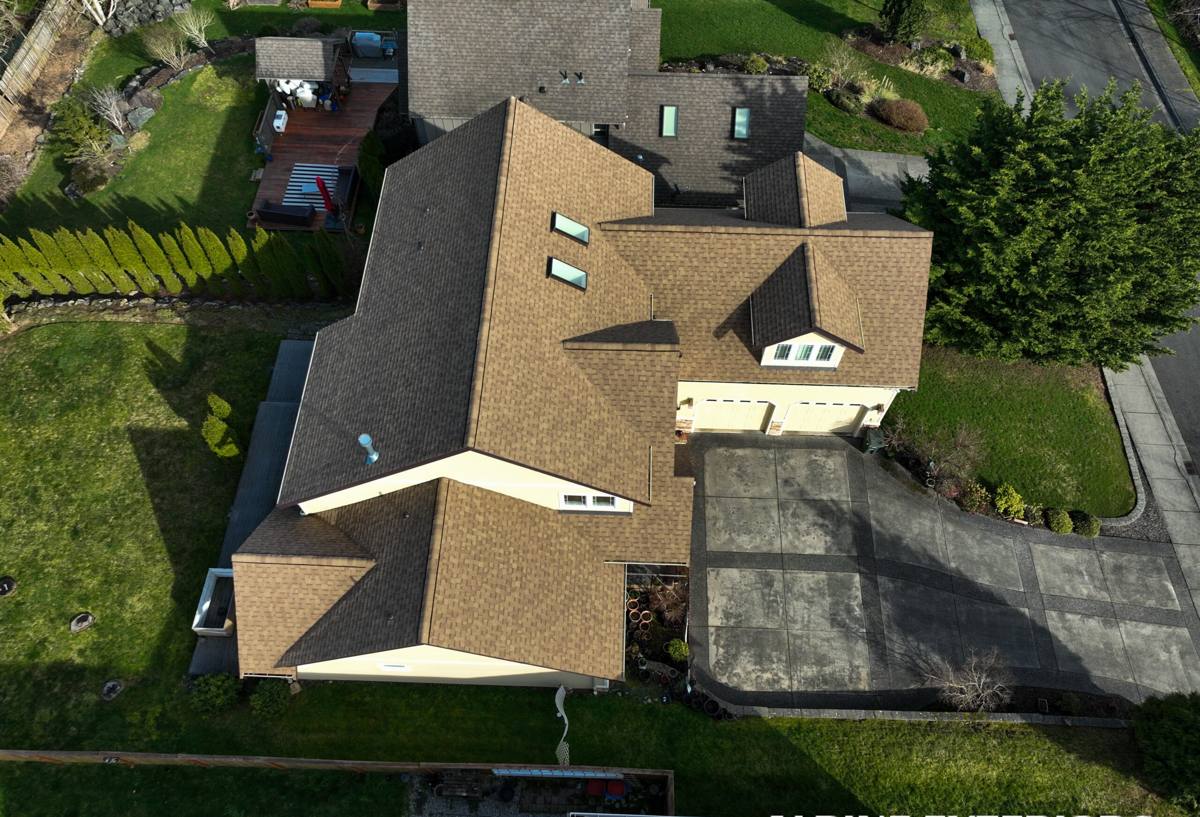
What This Regional Climate Actually Does to New Windows
Salt Air and Metal Fatigue
Homes closer to the water deal with airborne salt that settles on metal window components — flashing, fasteners, and hardware — and accelerates corrosion over time. It's slower and less dramatic than storm damage, but it's steady. Untreated or mismatched metals around a window opening can start pitting and staining well before the glass or frame itself shows any wear, and once flashing corrodes it stops doing its job even though it still looks intact from a distance.
Driving Rain and Wind-Driven Pressure
This isn't gentle Pacific Northwest drizzle. When storms come through the valley, rain gets pushed sideways into vertical surfaces, including window openings, with real pressure behind it. A window that's caulked in place without a proper flashing sequence can look fine in dry weather and still leak the first time a real system rolls through, because sealant alone was never designed to be a primary water barrier — it's backup, not the plan.
Moss Season and Prolonged Moisture
Whatcom County and the Abbotsford area both get long stretches where surfaces near windows — sills, trim, the siding immediately around the opening — stay damp for weeks at a time. That's exactly the condition moss and mildew need to establish, and once organic growth gets a foothold at a window edge it holds moisture against the building longer, which compounds the problem. New construction gives you a one-time chance to build in enough of a drainage path and drip edge that this never becomes a maintenance headache.
What a Correct New-Construction Window Install Actually Involves
There's a right order of operations here, and skipping steps is the single biggest source of callbacks in this trade. A proper install, from rough opening to finished siding tie-in, looks like this:
- Rough opening checked for square, level, and correct dimensions before the window ever shows up on site
- Sill pan flashing installed first, sloped to shed any water that gets past the window back to the exterior — never inward
- Window set, shimmed, and fastened per manufacturer spec, checking reveal and operation before it's locked in
- Flashing tape or membrane integrated with the house wrap in a proper shingle-lap sequence — top piece always overlapping the one below it, never the reverse
- Head flashing installed with a drip edge that kicks water clear of the wall below
- Sealant applied only where it's meant to be a backup layer, not the primary water barrier
- Interior air sealing and insulation around the frame, separate from exterior weatherproofing
- Final check of operation, drainage, and trim before siding closes it in
That sill pan step is the one we see skipped most often on jobs we're brought in to fix later. It takes maybe twenty extra minutes per window during framing. Skipping it is invisible until the first hard rain finds its way past the window and has nowhere to go but into the wall cavity.
A Simple Pre-Drywall Checklist We Use on Every Opening
- Rough opening squared and dimensionally correct before window delivery
- Sill pan flashing sloped outward, no low spots or dams
- Window shimmed plumb and level, operating smoothly before final fastening
- Flashing tape shingle-lapped correctly at every seam — sill, jambs, then head
- Head flashing with a functioning drip edge, not just a flat strip
- Fasteners and any exposed metal rated for the coastal/valley environment
- Photos taken of the flashing before house wrap and siding cover it
Window Products: What We Recommend and Why
For new construction in this area, we lean toward vinyl or fiberglass frames with argon-filled, low-E glass as the baseline, and we're upfront about the trade-offs rather than pushing whatever's easiest to install.
| Frame Type | Strength Here | Trade-Off |
|---|---|---|
| Vinyl | Good value, low maintenance, solid thermal performance | Can expand/contract more with wide seasonal swings; quality varies a lot by manufacturer |
| Fiberglass | Very stable dimensionally, holds paint well, strong long-term durability | Higher upfront cost than vinyl |
| Aluminum-clad wood | Attractive interior wood look with exterior weather protection | Requires more attention to cladding seams; higher maintenance if seals fail |
| Bare aluminum | Strong and slim sightlines | Poor thermal performance and prone to condensation in this climate; not something we install on new builds here |
We steer away from bare aluminum frames for new construction in this region specifically because of condensation risk in the cooler, wetter months — it's not that the product is bad everywhere, it's that it's a poor match for this particular combination of temperature and humidity swings. Whatever frame material a homeowner picks, we make sure glazing is rated for the wind and moisture exposure of the specific lot, since a home closer to open water needs a different spec than one tucked further into the valley.
Our Process for Abbotsford-Area New Builds
1. Plan Review and Product Selection
We look at the build set, the lot's exposure — how close to prevailing wind and rain direction, how much shade or drainage is around the foundation — and help pick window products and glazing packages that match the actual site conditions, not a generic spec sheet.
2. Coordination With Your Framer or GC
New-construction window work only goes smoothly when it's coordinated with whoever's running the framing and house wrap schedule. We show up at the right point in the build sequence, not after the wrap is already stapled on wrong.
3. Install With Documentation
Every flashing detail gets photographed before it's covered by house wrap or siding. If a question ever comes up later — for a warranty claim, an inspection, or just peace of mind — there's a record of exactly how the water management was built, not a guess.
4. Final Walkthrough
Before we leave the site, every window gets operated, checked for square reveal, and confirmed against the plan. Small adjustments are far cheaper to make now than after siding and trim are finished around it.
Why a Crew That Already Works This Corridor Matters
Working new construction across the Lynden–Abbotsford corridor means dealing with both US and Canadian building conventions, different typical wind exposure between coastal-adjacent and valley lots, and the same underlying weather pattern hitting both sides of the border. A crew that's only ever worked drier inland climates tends to under-build the water management details — they've never had a callback force them to learn the hard way. We have, and it shaped how we sequence every opening. Local familiarity also means realistic lead times and scheduling that accounts for the same weather windows your framer and siding crew are already working around, so the window install doesn't become the bottleneck that holds up the whole exterior schedule.
Common Mistakes We Fix on New Builds
- Sealant used as the only water barrier, with no sill pan flashing underneath
- Flashing tape lapped backward, funneling water into the wall instead of away from it
- House wrap cut and taped around the window before the sill pan was installed
- Fasteners or trim metal that aren't suited to a salt-air environment
- No drip edge on head flashing, letting water run straight down the face of the siding below
- Windows set out of square, causing binding or premature seal failure within a couple years
Every one of these is cheap to avoid during new construction and expensive to fix once the home is finished and occupied.
Timing It Right in the Build Schedule
Windows go in after the rough opening is framed and the weather barrier is ready, but before siding closes everything up — there's not a lot of room to move that window in the schedule, and delays here ripple through the rest of the exterior work. Given how much rain this region sees across fall, winter, and spring, we try to get new-construction window work scheduled during whatever dry windows the build timeline allows, and we protect open rough openings from weather in the meantime rather than leaving them exposed and hoping for the best.
If you're framing a new home or addition in the Abbotsford area and want windows installed by a crew that already knows this corridor's weather, reach out for a free, no-pressure estimate using the form below.