 Lynden
 New-Construction Windows Are a Different Job Than Replacement Windows
"New-construction windows" isn't just a size category — it describes a different installation method entirely. These are windows with a nailing flange (also called a nail fin) that gets integrated directly into the wall's weather-resistive barrier before siding goes on. That's different from a replacement or "pocket" window, which gets inserted into an existing frame with the original exterior trim left in place. On a new build, the window is part of the wall assembly from the start, which means the installer's job isn't just to set the unit — it's to build a water-management path that has to work for the next 30-plus years before anyone can see it again.
That distinction matters more here than in a lot of places. Homes going up around Aldergrove, BC and Lynden, WA get built once, and the flashing details get buried behind siding, trim, and paint the same week they're installed. If the sill pan is wrong or the flange isn't lapped correctly with the house wrap, nobody finds out until there's a stain on a wall or rot in a sill years later.
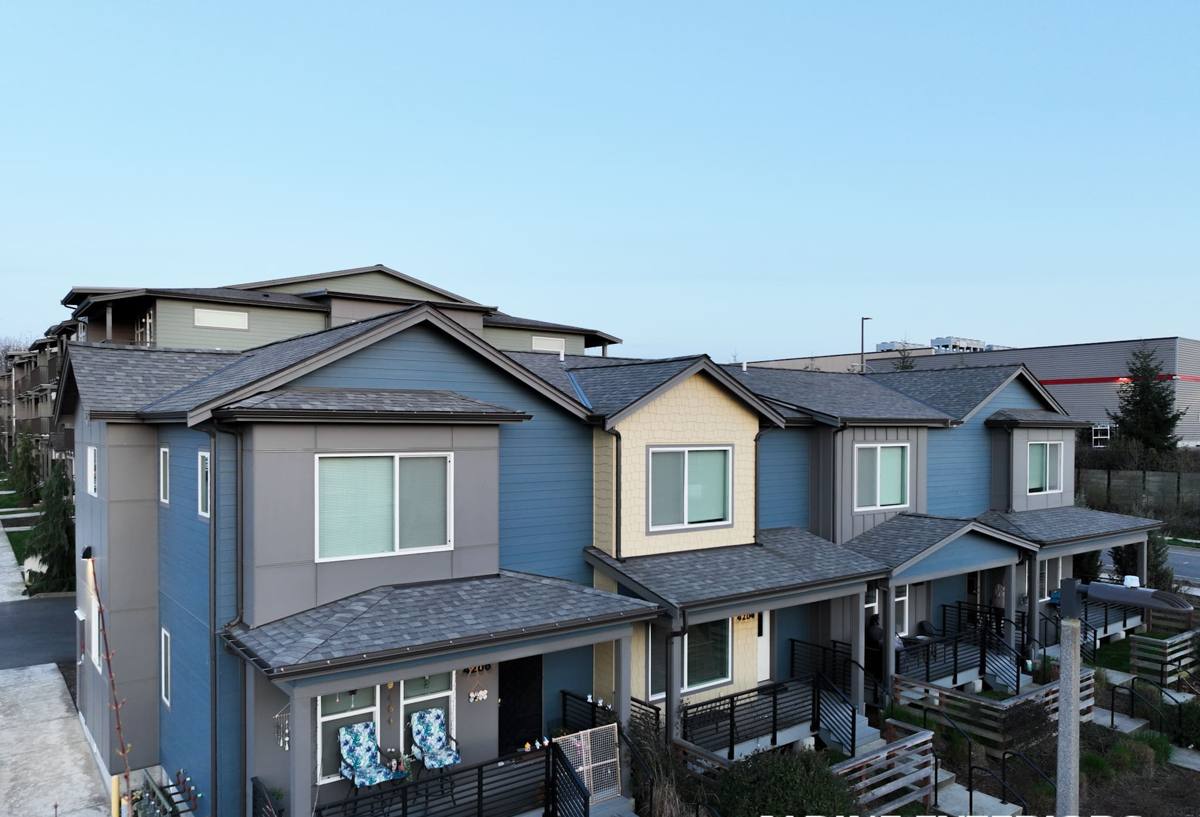
What This Climate Actually Does to a New Window Opening
Lynden sits in the lower Nooksack valley a few miles south of the Canadian border, close enough to Bellingham Bay and the Strait of Georgia that the marine air reaches inland — and Aldergrove, just north of the line, sits under the same weather. That marine influence brings a few specific problems for window openings:
- Driving rain: Pacific frontal systems push rain sideways, not just down, which is exactly the condition that exposes a poorly lapped flange or a missing sill pan.
- Salt-tinged air: Coastal moisture carries salts that accelerate corrosion on fasteners, cladding, and hardware that isn't rated for it.
- A long moss and mildew season: Extended damp stretches from fall through spring keep exterior surfaces wet for days at a time, which is hard on anything that traps water instead of shedding it.
- Freeze-thaw swings: Not extreme cold, but enough overnight freezes to stress caulk joints and sealants that were installed sloppy.
None of that is unusual for Whatcom County. What it means practically is that a new-construction window opening here needs every flashing layer doing its job, because the siding and trim covering it will trap moisture against the wall if the water isn't directed back out.
What a Correct New-Construction Window Installation Involves
Sill Pan Flashing
Every rough opening should get a sloped sill pan before the window ever goes in — a shaped barrier that catches any water that gets past the window and directs it back outside instead of into the framing. This is the single most-skipped step we see on framing packages that come from out-of-area crews, and it's the one that causes the most damage when it's missing.
Nailing Flange to WRB Integration
The flange has to be lapped correctly into the weather-resistive barrier using a shingle-style sequence — sill first, then jambs, then head — so water always drains down and over the next layer, never up and under it. Tape and sealant matter less than the order the layers go on.
Head Flashing
A head flashing or drip cap above the window kicks water away from the top of the frame before it ever reaches the flange. On homes with limited roof overhang — common on simpler new-build elevations — this detail carries more of the load than people expect.
Shimming and Air Sealing
The window has to be shimmed plumb, level, and square at the manufacturer's specified points, then the gap between the frame and rough opening sealed with a proper backer rod and sealant or low-expansion foam — not just caulked shut, which cracks and fails within a couple seasons.
Choosing Materials and Glazing for This Climate
We don't push one brand for every job — the right material depends on the home's budget, exposure, and how the elevation sits relative to prevailing wind and rain. Here's how the common options actually perform in a wet, marine-influenced climate:
| Material | Moisture & Rot Resistance | Maintenance | Typical Lifespan | Best Use |
|---|---|---|---|---|
| Vinyl | Excellent — won't rot, low corrosion risk | Low — occasional wash-down | 20-30 years | Most new builds; strong value on exposed elevations |
| Fiberglass | Excellent, very stable in temperature swings | Low | 30-40+ years | Larger openings, higher-wind or high-exposure walls |
| Wood-clad | Good if maintained; vulnerable at joints and end grain | High — finish upkeep, joint inspection | 20-30 years with upkeep | Interior-facing aesthetic where exterior cladding shields the wood |
| Aluminum | Poor thermal performance, prone to condensation in this climate | Moderate | Varies | We generally steer new builds away from it here |
On glazing, low-e coatings and argon fill are standard for us on new construction in this area — the payoff isn't just energy cost, it's reduced interior condensation during the long damp stretches, which is what actually causes sill and sash problems over time.
Our Process on a New Build
- Rough opening check: We verify openings against the window schedule before anything gets set — undersized or out-of-square openings get flagged to the framer early, not discovered mid-install.
- Sill pan installation: Sloped pan flashing goes in on every opening, no exceptions, regardless of overhang or elevation exposure.
- Window set and shim: Unit is set plumb, level, and square, fastened per manufacturer spec at every required point — this is what keeps the warranty valid.
- Flange-to-WRB lapping: Flashing tape and house wrap integrated in the correct shingle order at sill, jambs, then head.
- Head flashing: Installed above the unit before the WRB above it is lapped over the top.
- Interior air seal: Backer rod and sealant or low-expansion foam around the perimeter, sized to the actual gap — not overpacked.
- Final inspection walkthrough: Every opening checked before siding closes it in, since this is the last point anyone can see the flashing directly.
Cost Factors on a New-Construction Window Package
New-build window costs swing more on job factors than on the sticker price of the units themselves. What actually moves the number:
| Factor | Why It Matters |
|---|---|
| Number and size of openings | Larger units and picture windows cost more per square foot and need extra support at header framing |
| Glazing package | Double-pane vs. triple-pane vs. upgraded low-e coatings changes both price and performance |
| Story height and access | Second- and third-story openings take longer to set safely and add labor time |
| Elevation exposure | Walls facing prevailing wind and rain sometimes warrant upgraded flashing details, which adds time, not just material cost |
| Grid patterns and trim | Custom grids, brickmould, or specialty trim profiles add cost beyond the base unit |
| Site logistics | Cross-border deliveries or rural build sites can affect scheduling and freight timing |
Because so much of the cost is in labor and detailing rather than the window itself, a low bid on a new-construction window package is worth questioning — it often means shortcuts on flashing, not a better deal on materials.
Mistakes We See on New Builds in This Area
Most window problems we get called about years later trace back to the same handful of shortcuts: no sill pan, flange stapled instead of properly lapped into the WRB, sealant used as the only water barrier instead of a mechanical flashing sequence, or windows fastened at the flange only instead of at the frame's actual structural fastening points. These don't show up at final walkthrough — they show up as staining, soft trim, or interior moisture two or three wet seasons later, which is a long time for a builder or homeowner to trace a problem back to the install.
A crew that works new construction regularly in Whatcom County and the border communities around it has usually already seen what fails here specifically, which is different from what fails in a drier inland climate.
Living With the Windows: Moss, Condensation, and Upkeep
Even a correctly installed window in this climate needs a little seasonal attention. Weep holes at the sill track should stay clear of debris and moss buildup so water can drain out instead of pooling. Exterior caulk lines are worth a visual check once a year, especially after the first couple of freeze-thaw cycles a new install goes through. Interior condensation on cold mornings is normal to a degree in a marine climate, but heavy, persistent condensation usually points to ventilation or humidity issues inside the home rather than the window itself.
- Keep weep holes and sill tracks clear of moss and debris each fall
- Check exterior sealant joints annually, especially after the first winter
- Wipe down sills after extended wet stretches to limit moss and mildew buildup
- Watch for interior condensation patterns that suggest a ventilation issue, not a window failure
- Confirm manufacturer warranty registration was completed at install — this is easy to forget and hard to fix later
Building on Both Sides of the Border
Aldergrove sits just across the line in British Columbia, and homes going up there fall under a different building code and permitting process than a build in Lynden or elsewhere in Whatcom County. Energy performance requirements, inspection sequencing, and paperwork differ between the two sides — nothing that changes how a window should physically be installed, but enough that a crew unfamiliar with both jurisdictions can slow a build down or miss a required inspection step. Working regularly on both sides of the border means we're used to coordinating with builders under either set of rules.
If you're framing a new home in Aldergrove or Lynden and want the window package done right the first time — sill pans, proper flashing, and materials suited to this climate — we're happy to walk the plans with you and put together a free, no-pressure estimate.