 Lynden
 Siding Installation for Laurel, Built Around Local Conditions
Laurel sits in the kind of Whatcom County landscape that looks calm most of the year and then reminds you exactly why siding fails here. The combination of salt-tinged air moving in off the Salish Sea, long stretches of driving rain, and a moss season that can stretch from October into May puts steady pressure on exterior walls that a lot of siding simply isn't built to handle. A siding installation done right in Laurel isn't the same job as one done in a dry inland climate — the material, the detailing, and the sequencing all have to account for moisture that doesn't let up.
This page is about that one job, done for this one area: what Laurel homes actually need from their siding, what correct installation looks like in this climate, and why the crew doing the work matters as much as the product going on the wall.
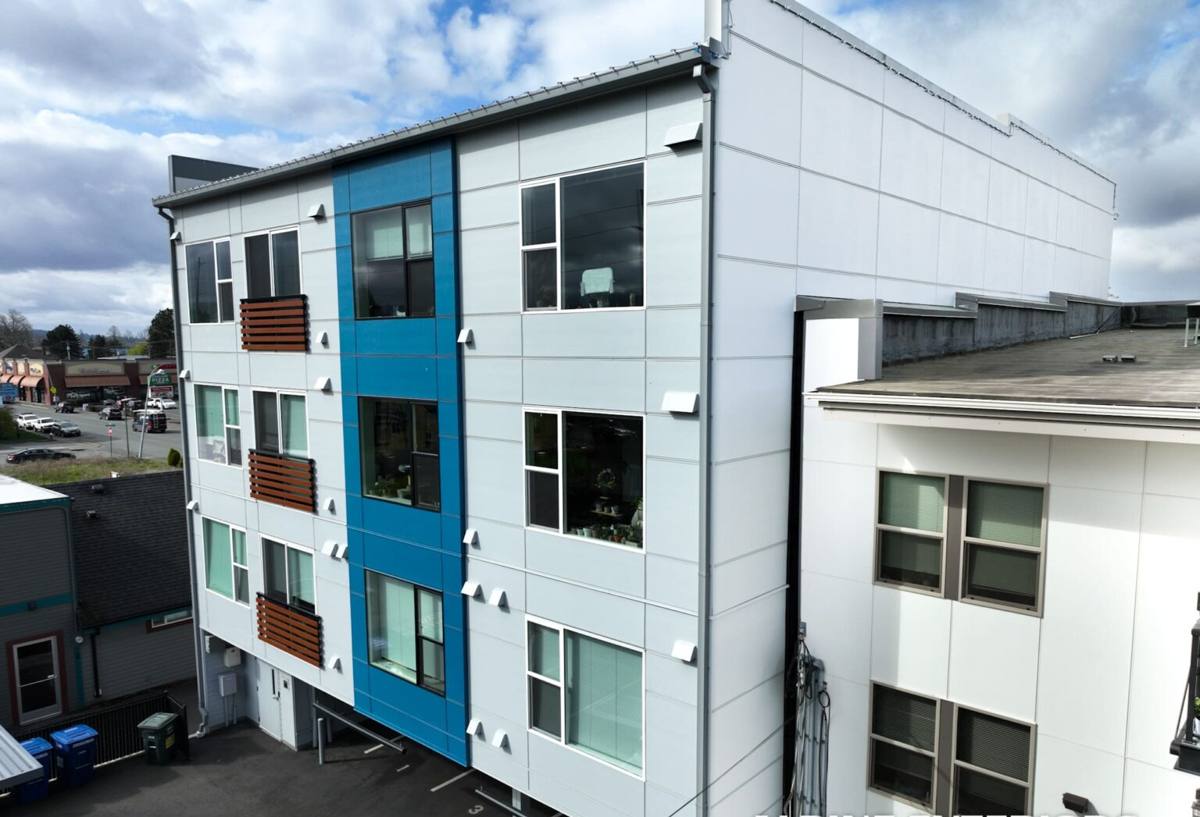
What Laurel Homes Are Up Against
Salt Air and Slow Corrosion
Even well inland from open water, Whatcom County homes pick up airborne salt that settles on exterior surfaces and accelerates corrosion of fasteners, trim metal, and anything with a weak factory finish. Siding that relies on a thin painted coating rather than a baked-in finish tends to chalk, fade, and lose its protective layer faster in this kind of air than it would in a drier, inland climate.
Driving Rain, Not Just Rain
Laurel doesn't just get a lot of rain — it gets wind-driven rain that hits siding at an angle instead of falling straight down. That matters because it pushes water into laps, seams, and butt joints that a vertical-rain climate would never test. Any gap in flashing, caulking, or panel overlap becomes an entry point, and once water gets behind siding it often stays there far longer than homeowners realize.
The Long Moss Season
Shaded walls, north-facing elevations, and anywhere airflow is restricted around trees or fences turn into moss and algae hosts for most of the year. Moss holds moisture directly against the siding surface, which is exactly the wrong thing for wood-based products and anything with exposed, unsealed edges. Over a few seasons, that constant damp contact is what drives rot in materials that aren't engineered to resist it.
Why the Wrong Installation Fails Here First
Most siding failures in this climate aren't really material failures — they're installation failures that the climate exposes faster than it would elsewhere. A nail driven too high or too low, a missing kick-out flashing above a roofline, house wrap seams that weren't lapped correctly, or caulk used to compensate for a poor fit instead of proper flashing — all of these are small mistakes that stay invisible in a dry climate for years. In Laurel's rain and salt exposure, they show up as staining, soft spots, and paint failure much sooner.
That's the real argument for hiring a crew that already works this specific area: they've seen which details actually matter here, not just which details are technically correct on paper.
What a Correct Siding Installation Involves
A proper installation is a system, not just panels nailed to a wall. Every layer has a job, and skipping or rushing any one of them undermines the whole assembly.
- Removal of old siding and inspection of the sheathing underneath for existing rot or moisture damage
- Repair or replacement of any compromised sheathing before anything new goes up
- Installation of a code-compliant weather-resistive barrier, properly lapped shingle-style so water sheds outward, not inward
- Correct flashing at every penetration — windows, doors, hose bibs, light fixtures, and roof-to-wall transitions
- Proper fastener placement, spacing, and depth per manufacturer specification, not just "close enough"
- Correct panel gapping and caulking at butt joints, sized for the material's expansion and contraction
- Factory-finished trim and corner detailing that keeps water from tracking behind the field siding
- A final walk-through checking reveals, fastener lines, and caulking before the site is called complete
Any one of these steps done poorly shortens the life of even the best siding product on the market. That's why we treat installation quality as inseparable from the material decision.
Why We Only Install James Hardie Fiber Cement
We install James Hardie fiber cement siding exclusively — not vinyl, not LP SmartSide, not primed spruce or cedar, and not other fiber cement brands. That's a deliberate standard, not a sales preference, and it comes directly from what holds up in coastal Pacific Northwest conditions like Laurel's.
Fiber cement is non-combustible and dimensionally stable, so it doesn't expand and contract with humidity swings the way wood-based products do — a real advantage in a climate that stays damp for most of the year. James Hardie's ColorPlus finish is baked on at the factory under controlled conditions, which holds color and resists the fading and chalking that salt air accelerates in field-applied paint. Hardie also engineers regional product lines (HZ5 for this kind of climate) specifically to handle moisture exposure, and backs the material with a long transferable warranty that matters if the home changes hands.
None of that replaces correct installation — but it gives Laurel homeowners a material that's actually built for the conditions their walls face, instead of one that's fighting them.
How Hardie Compares for a Climate Like This
| Factor | James Hardie Fiber Cement | Vinyl | Wood / Primed Spruce |
|---|---|---|---|
| Moisture behavior | Dimensionally stable, resists moss-driven moisture damage | Can warp or buckle with heat and moisture cycling | Absorbs moisture; prone to rot without diligent upkeep |
| Finish durability | Factory-baked ColorPlus finish resists salt-air fading | Color molded in but can fade and become brittle over time | Field-applied paint needs recoating on a shorter cycle |
| Fire resistance | Non-combustible | Combustible, can melt or deform near heat sources | Combustible |
| Typical lifespan here | Decades with proper install and basic upkeep | Shorter, especially with impact and UV exposure | Shortest without regular maintenance and repainting |
| Warranty structure | Long, transferable manufacturer warranty | Varies; often prorated | Typically limited or none from a manufacturer |
Our Process, Start to Finish
We keep the process the same on every Laurel job because consistency is what prevents the small mistakes that cause problems later.
1. On-Site Assessment
We walk the exterior, check the current siding and trim condition, and look specifically for moss-related moisture, past water intrusion, and any areas exposed to direct wind-driven rain.
2. Estimate and Product Selection
We recommend a Hardie profile and ColorPlus color suited to the home's exposure and the neighborhood's general character, and walk through the scope in plain terms — no vague allowances.
3. Prep and Sheathing Repair
Old siding comes off, sheathing is inspected, and anything compromised is repaired before the weather barrier goes on.
4. Installation to Spec
Weather barrier, flashing, fasteners, gapping, and trim are all installed to James Hardie's published specifications — not shortcuts that happen to look right from the ground.
5. Final Walk-Through
We review the finished exterior with the homeowner before considering the job done, and answer any questions about care going forward.
Cost Factors for a Laurel Siding Project
Every home is different, but the same handful of factors drive most of the cost variation we see on siding jobs in this area:
| Factor | Why It Matters |
|---|---|
| Home size and wall complexity | More corners, gables, and dormers mean more cutting, trim, and labor time |
| Sheathing condition | Rot from prior moisture or moss exposure adds repair work before new siding can go up |
| Siding profile chosen | Lap width, texture, and trim details affect material cost and install time |
| Access and site conditions | Tight lots, landscaping, or multi-story sections change staging and labor needs |
| Trim and detail work | Window and door trim, fascia, and corner boards add scope beyond the field siding itself |
We give straightforward, itemized estimates rather than broad per-square-foot guesses, because the sheathing condition alone can shift a project's scope significantly once old siding comes off.
Caring for Hardie Siding in Laurel's Climate
Fiber cement is low-maintenance compared to wood, but "low-maintenance" doesn't mean "no maintenance," especially with a moss season this long. A little seasonal attention keeps the siding performing the way it's designed to:
- Rinse siding periodically to remove salt residue, pollen, and organic buildup before it holds moisture against the surface
- Trim back vegetation and branches that shade siding and slow drying after rain
- Check caulking at trim and butt joints annually and re-caulk any cracked or separated seams
- Watch north-facing and shaded walls for early moss growth and clean it off before it spreads
- Inspect flashing above windows, doors, and roof transitions after major storms
- Touch up any chips or scratches in the finish promptly to prevent moisture entry at bare edges
Why a Crew That Already Works Laurel Matters
Siding installation isn't one-size-fits-all, and a crew that regularly works Laurel and the surrounding Lynden area already knows which elevations take the worst of the wind-driven rain, where moss builds up fastest, and how salt air behaves on homes at this distance from open water. That local pattern recognition shows up in the small decisions — extra flashing at a vulnerable transition, a slightly different gapping approach on a shaded wall — that a crew unfamiliar with the area might not think to make.
If you're planning a siding project in Laurel, we're glad to take a look at your home, walk through what James Hardie fiber cement would involve for your specific exterior, and give you a straightforward, no-pressure estimate using the form below.